Ceiling and Exhaust Fans
How to clean and maintain ceiling and exhaust fans
Exhaust and ceiling fans make your home more comfortable and can even help reduce household energy consumption. If you don’t maintain the fans regularly, they can wear out or fail faster. Knowing how to clean exhaust and ceiling fans is key to maintaining good working conditions. Fortunately, maintenance takes little time and effort. Please follow these exhaust and ceiling fan maintenance tips to keep the fans in good condition.
Exhaust Fan Maintenance
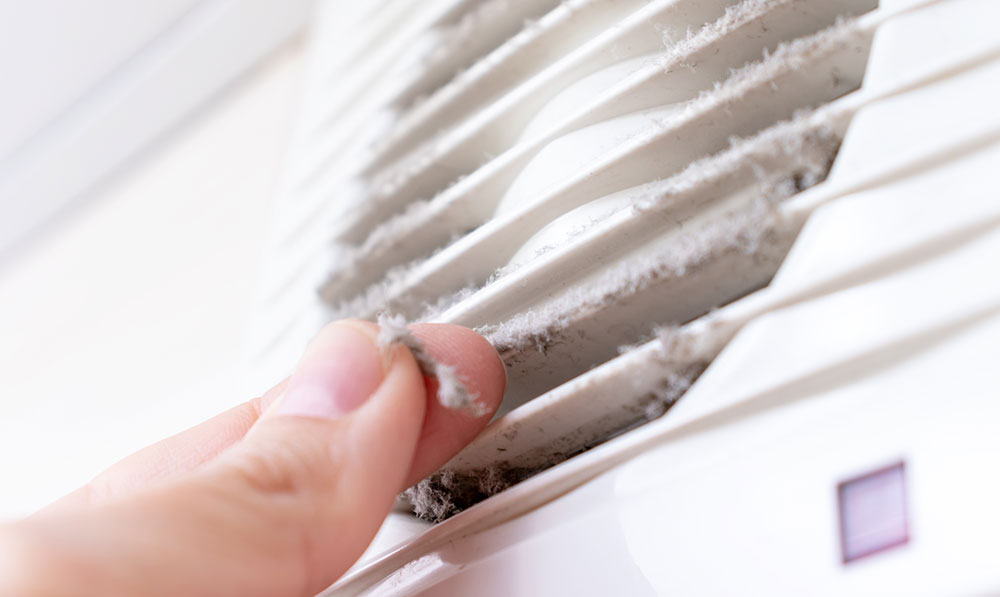
The bathrooms in most homes only have exhaust fans that can control humidity and purify the air. Like any fan, the exhaust fan picks up particles that have accumulated on the blades and engine. If this build-up is not regularly removed by thoroughly cleaning the exhaust fan, it can affect the fan’s function and shorten its service life. Follow the steps below to clean the exhaust fan in your home properly:
- Remove the Exhaust cover
Remove the exhaust fan cover by standing on a sturdy ladder or footstool. It’s usually held in place with a metal tension clip that must be squeezed firmly to remove – no tools required! On some models, the cover can be screwed on. You can clean the lid by washing thoroughly with detergent and warm water. - Vacuum out Dust
With the fan blades and motor exposed, use the vacuum wand attachment to remove as much dust as possible. You will see the cleaning wand as an extension son the vacuum cleaner. - Wipe the blade with a Dusting Cloth
Use a dry and clean cloth to remove dust from the blade and other internal components gently. Try to clean stubborn dirt with a damp cloth. After that, just put the cover back on, and the fan is clean and ready.
Ceiling fan Maintenance
Like exhaust fans, ceiling fans can benefit from regular cleaning. Follow the ceiling fan maintenance tips below to learn how to clean the fan motor, lubricate the fan bearings, and wipe the fan blades to keep all components working properly.
- Vacuum and Dust the fan
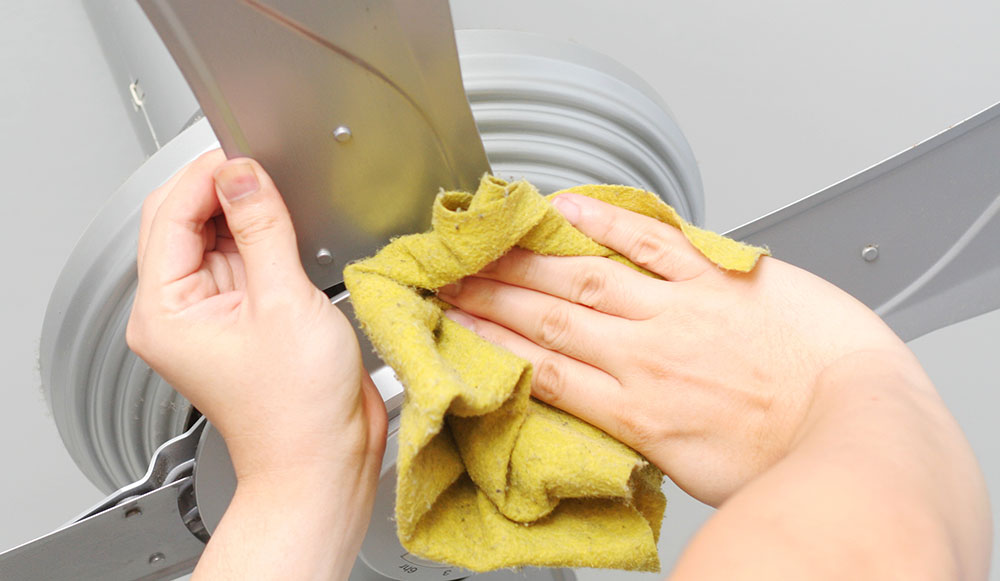
Use a vacuum wand attachment to remove all dust from the fan blades and the fan exposed parts. A lot of dust accumulates on the ceiling fan. You may need to wear a mask while cleaning to prevent the inhalation of dust.
Another popular household trick is to clean the blade with an old pillowcase. Wrap the fan blades in the pillowcase and apply pressure on the blades to wipe the dust into the case. Repeat these steps for each blade. When you’re done, remove the dust from the pillowcase, then wash it.
You can also wipe each blade with a damp cloth. Rinse the cloth after each blade to remove excess dust. - Tighten the screws
If you hear a click when the fan turns on, the screws or other parts of the fan system may be loose. Check all components and use a screwdriver to tighten anything that may be loose. Also, check for any missing screws and replace them to make sure the ceiling fan is secure. - Clean the fan motor
The ceiling fan motor’s outer cover will keep most of the dust from getting in, but some dust will still get in. To clean the motor, simply apply a vacuum to the slot on the motor cover. This should help remove any excess dust on the fan motor. - Lubricate the ceiling fan bearings
Lubrication is the last step in maintaining the fan. Many fans, especially the newer ones, are maintenance-free and do not need to be oiled. Others may have a small fuel tank on top of the engine, and you should add a few drops of oil frequently.
Ceiling fans with sealed motors may be more difficult to lubricate. To clean the sealed motor:
- Turn off the power supply, disconnect the fan, and remove it from the ceiling.
- Separate the fan blades from the motor base.
- Open the motor housing.
- With the top and bottom bearings exposed, you should be able to add grease.
In general, newer ceiling fans do not require regular lubrication, but sometimes they do. If you hear a squeak or grind while the fan is on, you may need lubrication. If you need help lubricating the ceiling fan, please contact a licensed technician.

